How to Make an Eaglercraft Server
A current, practical route from a local Paper server to a browser-ready WSS address, using the official EaglerXServer project.

1. Choose the right Eaglercraft server setup
A Shared World is best for a short session hosted by one player. A dedicated server stays online independently and is the right choice for a persistent group, public listing, plugins, or moderation. This guide covers the dedicated route.
The official Paper template is the shortest path for beginners. Operators who already run a Java server should install EaglerXServer on the server or proxy they control instead of replacing the whole stack.
| Goal | Recommended route | Why |
|---|---|---|
| Small private test | Official Paper template | Known-compatible baseline with fewer moving parts |
| Existing Spigot server | EaglerXServer plugin | Keeps the current world and plugin stack |
| Multi-server network | BungeeCord or Velocity proxy | One browser gateway can route players to several backends |
| One-time friend session | Shared World | No dedicated server administration required |
2. Verify the current release before installing
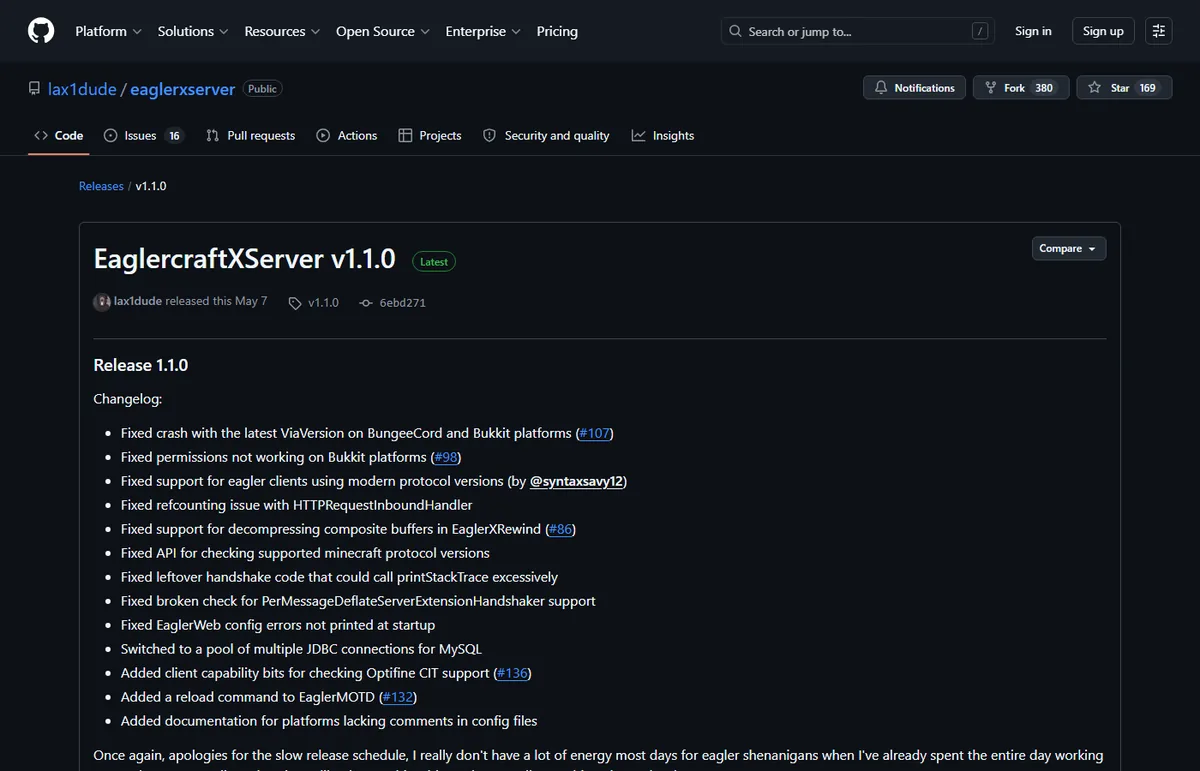
Checked against the developer's GitHub releases on July 25, 2026: EaglerXServer v1.1.0 was published May 7, 2026. The core EaglerXServer.jar asset is 8,774,817 bytes and GitHub serves it as an application/octet-stream file. The project requires Java 17 or newer.
The browser client and server gateway use different version numbers. The site's playable Eaglercraft 1.8 client remains update u53; do not confuse that with EaglerXServer v1.1.0. Download from the official release page or clone the official template—never guess a CDN path or use a renamed mirror.
3. Understand the connection before opening ports
A browser cannot connect to a normal Minecraft TCP socket directly. EaglerXServer accepts WebSocket traffic and passes the session into the Java server or proxy. On an HTTPS site, the public endpoint normally needs WSS, not plain WS.
Keep the Java backend private when possible. Expose only the WebSocket gateway, terminate TLS at a trusted reverse proxy, and use the plugin's inject_address option when the backend must receive the player's real address.
4. Set up the server step by step
Back up any existing world first. Work in a new folder and keep a copy of every configuration you change.
- Install Java 17 or newer
Run java -version and confirm a supported 64-bit runtime. Allocate memory conservatively; leave capacity for the operating system and proxy. - Pick the template or plugin route
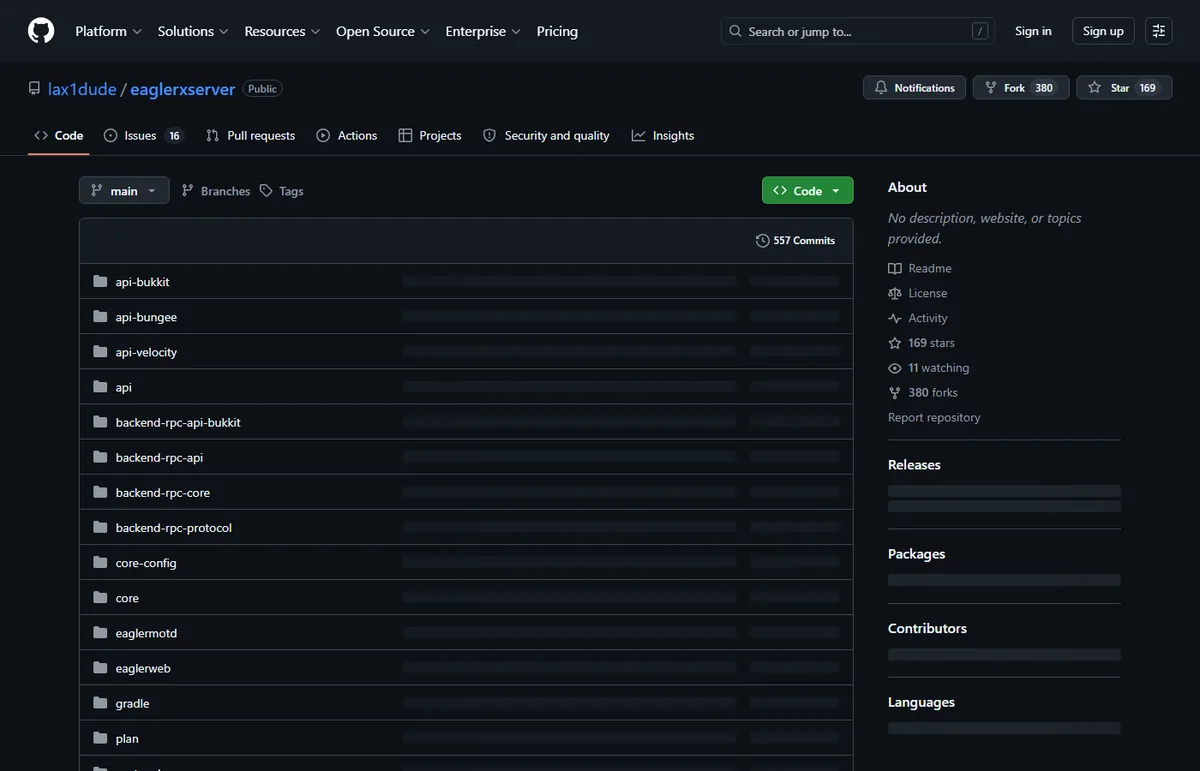
Beginners can clone the official Eaglercraft-Server-Paper template. Existing operators should download EaglerXServer.jar from the official v1.1.0 release and place it in the plugins folder of a supported Spigot, BungeeCord, or Velocity installation. - Start once and accept the EULA
Launch with run.bat on Windows or run.sh on Linux, stop after files are generated, read eula.txt, and set eula=true only if you accept Mojang's EULA. - Configure the listener and compatibility
Review listeners.yml or the generated EaglerXServer configuration. Set the WebSocket listener, server name, limits, and inject_address as needed. The official template includes ViaVersion-family compatibility plugins for older client protocols. - Put WSS in front of the listener
Use a domain with a valid TLS certificate and a reverse proxy that preserves Upgrade and Connection headers. Do not publish an unsecured admin panel or backend port. - Test, monitor, and back up
Join using the final wss:// address from an external network, review logs, test reconnects, and create a restorable world plus configuration backup before inviting players.
5. Configure a secure WSS address
If the game page loads over HTTPS, browsers block insecure ws:// connections as mixed content. Give players a wss:// hostname backed by a valid certificate. Your reverse proxy must forward WebSocket upgrade headers and allow long-lived connections.
Home networks also need router forwarding and may be behind carrier-grade NAT. If inbound connections are unavailable, use a host that supports persistent WebSockets rather than exposing remote desktop tools or relying on an unverified tunnel.
Test the public hostname on mobile data or another external network. A localhost success does not prove DNS, TLS, firewall, or router rules are correct.
6. Test and troubleshoot in layers
Change one layer at a time and read both reverse-proxy and server logs. The browser console is useful for distinguishing TLS and WebSocket failures from Minecraft protocol failures.
| Symptom | Likely layer | First check |
|---|---|---|
| Connection refused | Port or listener | Confirm the process is listening on the configured private port |
| Mixed-content warning | TLS/WSS | Replace ws:// with wss:// and verify the certificate |
| 502 or failed upgrade | Reverse proxy | Forward Upgrade and Connection headers; increase idle timeout |
| Joins, then version error | Protocol compatibility | Confirm client version and ViaVersion/ViaBackwards/ViaRewind compatibility |
| Works locally only | Firewall, NAT, or DNS | Test external DNS and port reachability; check CGNAT |
| Wrong player IP in logs | Proxy address injection | Review inject_address and trusted-proxy settings |
7. Secure the server before sharing it
A public browser endpoint attracts automated traffic. Treat authentication, moderation, updates, and backups as launch requirements—not later improvements.
- Use a whitelist or authentication plugin for private communities.
- Run the service as a non-administrator account and expose only required ports.
- Rate-limit the public gateway and keep management panels private.
- Back up worlds, plugins, and configuration; perform a restore test.
- Review official releases before updating and keep a rollback copy.
Frequently asked questions
Official sources checked
- EaglerXServer repository — requirements and configuration
- EaglerXServer v1.1.0 release — verified release and asset
- Official Paper server template — beginner baseline
Ready to test the connection?
Build privately, verify WSS from an external network, then use the server guide to join or troubleshoot.